


Which fuel contained the largest amount of energy, and how did you determine this?
The fuel containing the most amount of energy would have burnt for the longest and therefore caused the greatest change in the temperature of the water.
In Gr. 4, we learnt that there are many different types of energy. This year we are going to learn about stored energy and how we can use the stored energy to do something useful.
What do you understand about the term fuel? Discuss this word with your partner and write down your own definition below.
Learner dependent answer (a material such as coal, gas, or oil that is burned to produce energy)
There are a few different definitions for fuel. There are three main categories that you can use to investigate fuels.
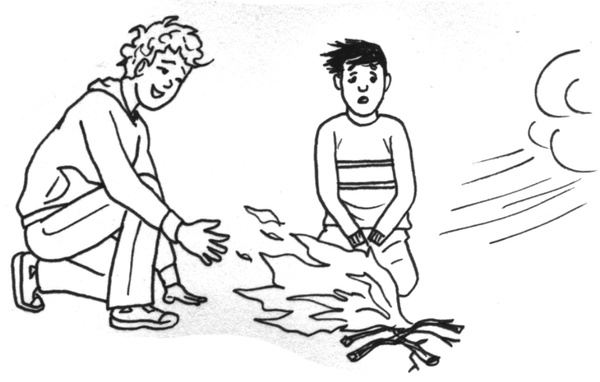
Wood is often collected and burnt to give us heat and light. On a cold evening, it is wonderful to sit around a fire to tell stories and warm yourself with friends.
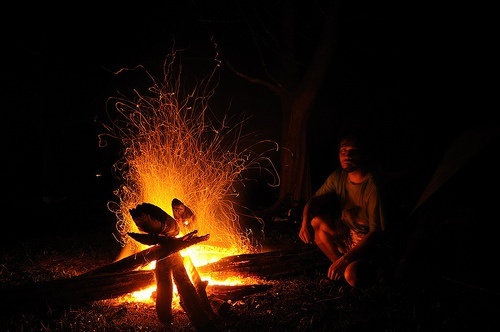
Wood comes from plants, specifically trees. Plants use light energy from the Sun, as well as carbon dioxide and water to grow. Plants take the energy and store it in their leaves, roots and all parts of the plant. Wood also contains this energy stored by plants. Burning wood allows us to change this stored energy into light and heat which is useful to us.

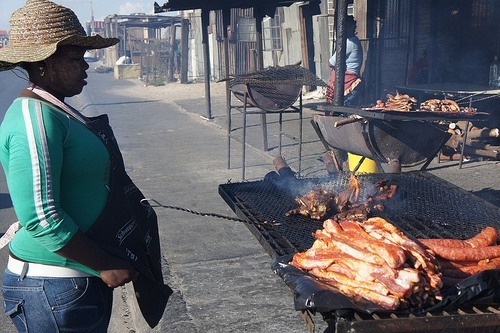
Coal is a type of fossil fuel that is also burnt to provide us with heat that we can use. The heat from coal can be used to cook our food and warm our houses.
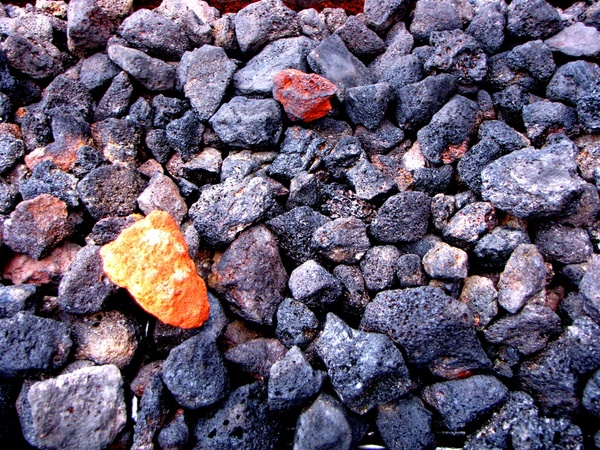
Fossil fuels like coal were made from prehistoric plants. The plants took up energy from the Sun and stored it in their bodies. Millions of years ago, the Earth was mostly covered by water. The plants that died sank to the bottom of the water. Over millions of years, the layers of plants were covered by layers of sand and compressed by the weight of the sand. The plant material was buried deeper and deeper under the ground where it is much hotter than on the surface of the Earth. Over millions of years, the plant remains changed into fossil fuels.
These fuels get their name, "fossil fuels", because they are made from plants and animals that lived a very long time ago.
Natural gas and oil are also examples of fossil fuels. Scientists have realised that tiny sea organisms also died, sank to the the bottom of the ocean, and were buried under the sand. Over millions of years, many layers of dead sea animals got buried like this. Over millions of years, the dead sea animals changed into oil and natural gas.
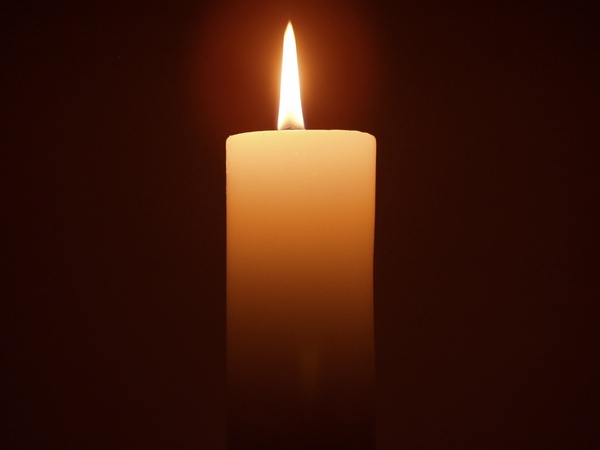
Wax in a candle is burnt to provide light. By burning the candle, the stored energy in the wax is released as light and heat energy.
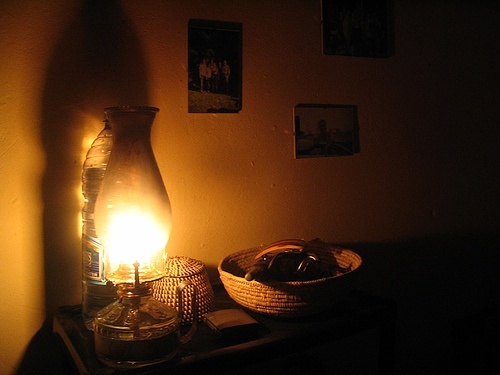
Paraffin is also a fuel that contains stored energy. Paraffin is burnt in paraffin lamps and paraffin stoves to provide us with useful energy in the form of light and heat.
Gas is another fuel that can be burnt to release stored energy in the form of heat and light. We can use gas heaters to keep warm, and gas stoves to cook food and boil water. Natural gas is odourless and colourless, and it is also known as 'clean gas' because, unlike other fossil fuels, it doesn't produce harmful byproducts when it burns.
Humans and animals need energy to live. We get our energy from the food that we eat. Do you remember learning about food chains in the beginning of the year in Life and Living?
Choose one of the foods that you will eat for lunch today and draw a food chain including this food and ending with you.
Any food chain starting with the Sun and ending with a person (the learner). Perhaps it is a piece of fruit, then it will just be a 3 link food chain. If it is a meat product, then it would be a four link food chain.
Remind learners about food chains and how the direction of the arrows shows the transfer of energy from the Sun and then from one organism to the next.
Food contains stored energy that our bodies can change into useful energy that we need when we run, jump, breathe, learn and do everything else that we do.
The energy value of food is often shown on the packaging of foods that we buy. The energy of food is measured either in calories (Cal) or in joules (J). A snack such as a packet of chips gives you thousands of joules of energy. Therefore, we rather talk about kilojoules (kJ) of energy when talking about the energy in food.
Spend a moment going over the link between units of measurements and the use of "kilo" as this is often a huge problem with learners in the higher grades. For example, write some of these on the board, \(\text{1000}\) grams (g) = 1 kilogram (kg), \(\text{1000}\) metres (m) = 1 kilometre (km), and then write \(\text{1000}\) joules (j) = … and ask learners for the answer.
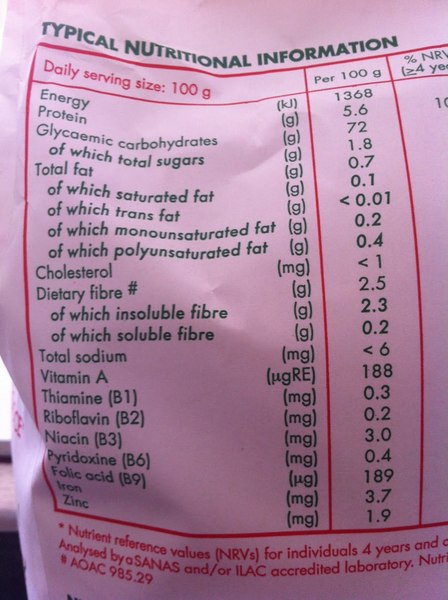
Have a look at the photo of the side of a mealie meal packet below. The side of the packet contains a lot of information about what the mealie meal contains. The very top line tells us that 100 g of mealie meal will supply your body with 1368 kJ of energy.
The energy value of a food tells us how much energy that food is worth to our bodies as fuel. An average adult man needs about 2500 kcal or 10 000 kJ per day. Children and adults that are not very active need less energy. People that are very active need more energy. These numbers are just to give us an idea of the amount of energy your body needs as fuel everyday.
It is important to eat a balanced diet. In the next activity we are going to look at how much energy different food gives us. In Gr. 6 we will learn a lot more about nutrition and what you should eat to be healthy!
About two weeks before you get to this activity, ask the learners to start bringing in packages from food that they eat, e.g. cereal boxes, butter wrappers, egg boxes, sweet wrappers, biscuit boxes, chip packets, rice packets, bread packets etc. The bigger the variety of packages the better. Make sure the learners understand that you need to be able to read the information in the table on the packet. Have a couple of examples with you to show the learners what they are looking for. NB: Not all foods will give kJ per 100 g. Ask learners to attempt to do some of the conversions themselves.
MATERIALS:
INSTRUCTIONS:
|
Food item |
Energy per 100g |
QUESTIONS:
Which food item contains the most amount of energy per 100g?
Which food item contains the least amount of energy per 100g?
Fuels can also be used to give us other forms of useful energy.
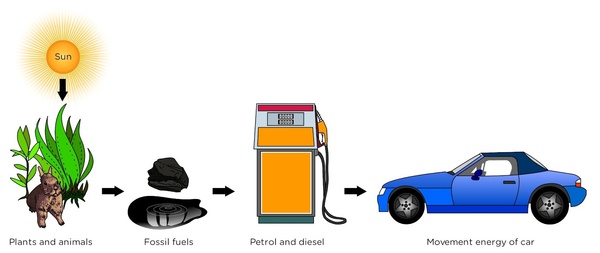
Petrol or diesel is used in cars and trucks to make them go. The stored energy in the fuel is changed into movement energy of the car or truck.
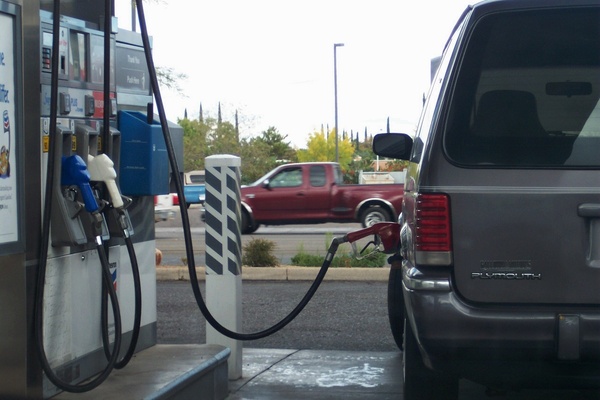
Petrol and diesel are made from fossil fuels. Can you see that even energy for cars and generating electricity comes from the Sun?
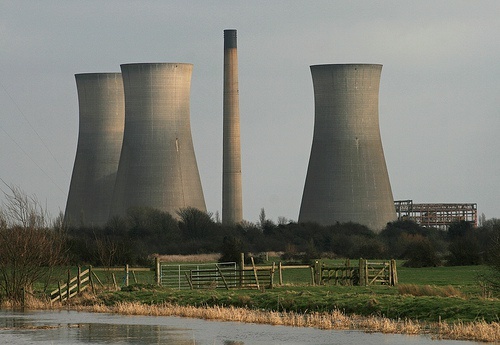
Coal is not only burnt in our homes for cooking and keeping us warm. It can also be used to make electricity. A power station is a large factory where the coal is burnt in large amounts to produce electricity.
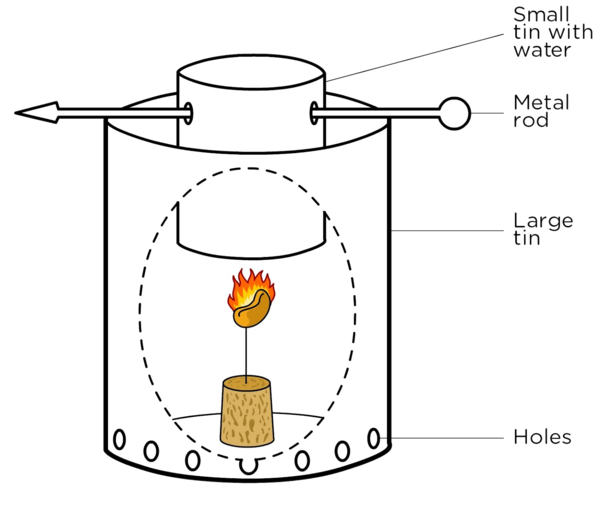
We can also carry out an investigation to find out how much energy is stored in fuels.
The teacher must make the apparatus as per the instructions in the method. This investigation must be performed by the teacher or under very careful teacher supervision due to the fire hazard. If possible, watch the video in the Visit box to get an idea of the experiment. If you cannot perform the experiment in your class, then possibly play the video for learners. This investigations makes use of simple equipment such as tin cans and corks. But, if you have access to a science laboratory, then you can use a metal retort stand, test tube and bunsen burner instead. The idea of this investigation is to show that you do not need fancy science apparatus to perform an experiment.
AIM: To determine which fuel contains the most energy
MATERIALS AND APPARATUS:
The idea of this investigation is to examine the amount of energy given off by a peanut. NB: Learners might struggle with linking a burning object, with energy given off, which then heats water, which then gives a reading on a thermometer. Take time to explain how a burning peanut can result in a different reading on a thermometer, and that we are actually looking at the energy given off and not the reading on the thermometer. The thermometer reading is an indicator that more energy is released.The experiment can be taken further to compare different fuels. You can also use a piece of wood, piece of candle wax, piece of biscuit (approximately the same weight of each fuel). It is important to burn the same weight of each fuel so that you can directly compare the amount of energy given off per gram of weight.
Method:

RESULTS:
|
Fuel 1: Peanut |
Fuel 2: _____ |
Fuel 3: _____ |
|
|
Temperature of water before heating (oC) |
|||
|
Temperature of water after heating (oC) |
|||
|
Change in temperature (oC) |
CONCLUSION:
Write a conclusion for your investigation.
The energy stored in the peanut was changed into heat energy which we used to warm the water.
At this point, ask questions like if the peanut had stored a greater amount of energy would the final temperature of the water be greater or smaller. Lead the class to discuss which substance contained the most amount of energy. Also ensure the learners understand that to make a fair comparison about the amount of stored energy in each substance, that you would have had to have the same mass of fuel for each experiment. In addition, you could use a metal bottle top and fill with paraffin or other liquid fuel to compare stored energy.
QUESTIONS:
Which fuel contained the largest amount of energy, and how did you determine this?
The fuel containing the most amount of energy would have burnt for the longest and therefore caused the greatest change in the temperature of the water.
Where did the energy in the peanut originally come from?
Discuss what happened to the energy stored in the nut, or other fuels you used.
As the nut was set on fire, the stored energy was released as heat and light.
What was the input energy needed to make the peanut (and other fuels) burn?
heat energy
What was the output energy obtained from the fuel?
heat and light energy
Discuss how you could compare the amount of energy stored in peanuts to the amount of energy stored in a cashew nut.
The experiment (peanut or cashew nut) that produces the biggest increase in temperature has used the fuel with the most stored energy.
Repeat the experiment with a peanut and then a cashew nut of the same mass. Learners can go into the details of how to set up and perform the experiment. Unless they have done it, they won't be able to predict which one has the most stored energy, but the following conclusion could be made:
In order to light the fuel, you had to put in a small amount of energy. The fuel however gave out a lot more energy than what was put in. The difference between the energy you put in and the energy the fuel gave out is how much energy was stored in the fuel.
The OUTPUT ENERGY obtained from a fuel is GREATER THAN the INPUT ENERGY needed to make the fuel burn.
We have learnt that burning fuels provides us with energy that we can use. What does a fuel need to be able to burn?
It requires some energy to start burning fuel. Fuel needs oxygen to burn. Fuel usually gets oxygen from the air around it. There are other gases present in air as well, but they do not burn.
The following pie chart illustrates how much of each type of gas is found in the air around us.
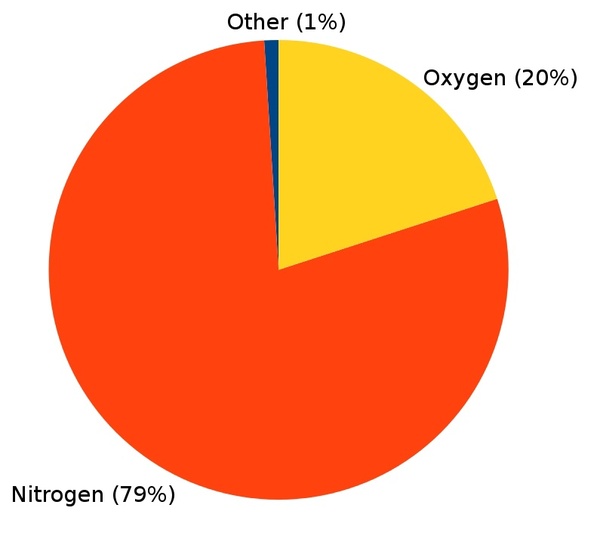
How much of the air around us consists of oxygen?
Oxygen makes up 21% of the air around us.
When something burns we say it is combusting. Another word for burning is combustion.
What happens to a flame when we take one of these things away, such as oxygen? When we take something away, we say we deprive it. Let's find out what happens when a flame is deprived of oxygen!
AIM: To find out how long a candle will burn for when given different amounts of oxygen.
MATERIALS AND APPARATUS:
METHOD:

RESULTS AND OBSERVATIONS:
|
Size of glass jar |
Time taken for candle to go out (s) |
|
Small |
|
|
Medium |
|
|
Large |
|
|
Extra Large |
In which glass jar did the candle burn the longest?
the extra large jar
In which glass jar did the candle burn out the fastest?
the small jar
CONCLUSION:
Write a conclusion for the investigation.
The more air the candle has available, the longer the candle can burn for.
QUESTIONS:
When lighting a candle, identify the heat source that provides the starting energy and the fuel supply.
heat source is lit match, fuel is the wax
Why did the candle go out once you put the glass jar over the candle?
The candle used up all the oxygen in the air. Burning cannot happen without oxygen so the candle went out.
Why do you think there is a difference in the time it took for the candle to go out?
The small jar has less air and hence less oxygen than the bigger jars. The smaller the amount of oxygen, the quicker it gets used up and the quicker the candle goes out.
A candle that is allowed to burn freely in air will eventually burn down and go out. Why does the candle stop burning in this situation?
The fuel has run out.
In this experiment we learnt that if you take away the fuel or the oxygen, the flame will stop burning.
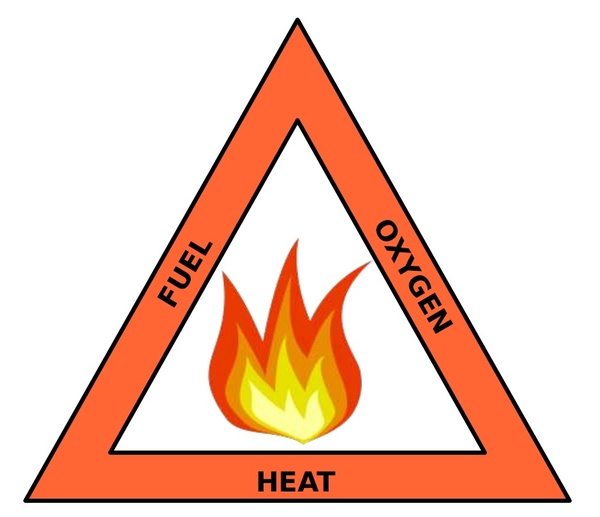
For combustion to be possible, three things are required; a heat source, fuel, and oxygen. Without one of the three, combustion will not happen. You can remember this using the Fire Triangle (in the following picture). All three sides of the triangle are required for combustion.
Invite someone from the local fire department to come and talk to the children in your school. Ask them to bring their equipment and talk to them about fire safety. The fire department is normally very willing to visit schools and they are the experts. If the fire department is not available, a community member can also be asked to talk to the learners.
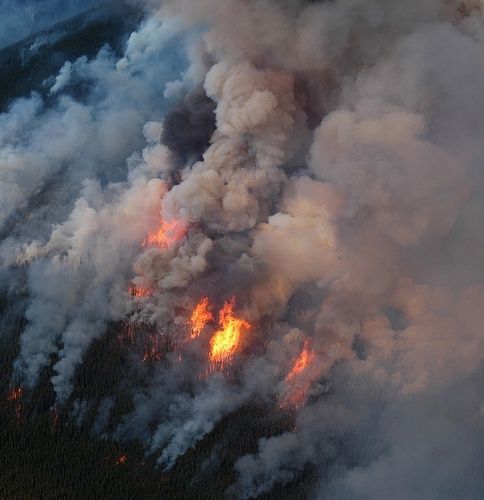
We have spoken a lot about fire and burning in this chapter so far. Fire is a major source of heat energy for many people whether it for keeping warm, cooking food or for some other purpose. Although fire is very useful it is also very dangerous! Great care is needed when using fire. Fire is a threat in our communities.
There are a few safety rules that everybody should know:
INSTRUCTIONS:
|
Situation |
Why is it dangerous? |
 |
|
 |
|
 |
|
 |
Fire alarms are extremely important to warn people in buildings that a fire has started.
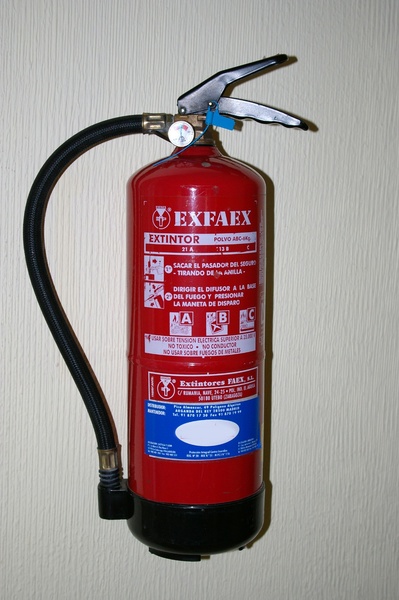
A great additional activity is to demonstrate the use of a fire extinguisher and then ask the learners to explain why it puts out the fire. Does the fire extinguisher blow out the fire? Does it remove oxygen from the burning material? Does it remove heat from the fire? Does it prevent oxygen from getting to the fire? Lots of interesting questions can arise here that could lead to a valuable discussion. No mention need/should be made of carbon dioxide unless the idea has already been raised before this.
|
Good experiences of fire |
Bad experiences of fire |
What causes of fire can you identify in your community?
How could you prevent each of the causes of fire you have been discussing?
The answers to these questions are unique to the community in which you live. Discuss the answers each group has come up with with the class. Suggest that each group makes a poster about fire safety after the class discussion.
Sometimes fires break out and it is important for us to know what to do in the event of a fire.
INSTRUCTIONS:
The following actions should be shown in the plays:
To escape from a building, fall and crawl.
When clothes are on fire, stop, drop and roll, or cover in a blanket or carpet.
If a friend is in a building, learners should show that they NEVER go into the building themselves, but rather call for help.
Assess the learners' plays as a group according to how clearly the learners speak and demonstrate the actions to do with their bodies and by acting out.
Have you ever seen any fire posters in your school telling you what to do in case of a fire? Did this poster catch your attention and make you aware of the dangers that fire can hold in your school? Maybe your school does not have any fire posters. Let's create our own fire posters to put up in the school.
MATERIALS:
INSTRUCTIONS:
Extra precautions are to close windows and doors.
List three types of fuel that you use in your community.
food, coal, any fuel that the learners have experienced
What is needed for combustion to take place?
heat, fuel and oxygen
Your dad is cooking with hot oil on the stove. The oil catches fire. Suggest a way to put out the fire and explain why it will work.
Put the lid on the pot. This will cut off the oxygen needed to burn and the fire will go out. Do not use water to put out an oil fire.
|
Number of firelighters |
Time of burn (min) |
|
2 |
6,0 |
|
4 |
11,5 |
|
6 |
18,6 |
|
8 |
23,8 |
|
12 |
37,0 |
|
16 |
48,0 |
Draw a line of best fit on your graph.
Line must NOT join the points. Must be a line drawn with a ruler that is as close to the data points as possible. There should be as many data points above the line as below.
Describe the relationship between the time of burn and the number of firelighters.
The greater the number of firelighters, the greater the burn time.
Use your graph to find out how long ten firelighters would burn for.
30 min
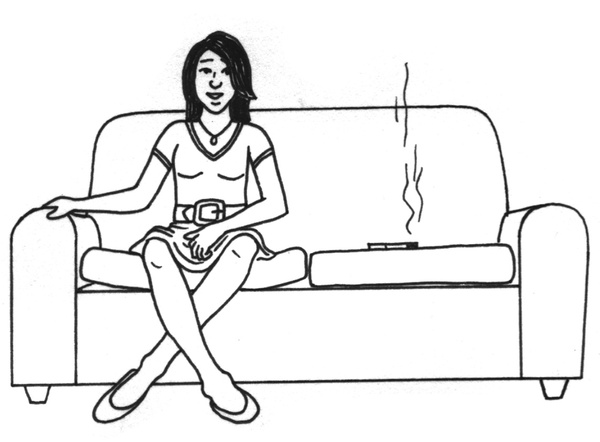
Your mom leaves the iron on and it is next to a window with a curtain blowing in the wind. Explain to her why this is dangerous and what she should rather do.
The curtain could blow against the hot iron and catch fire and burn the house down. The wind blowing in from the window would also help to spread the fire. She should rather turn the iron off when not using it and close the window so the curtain does not blow against the iron.